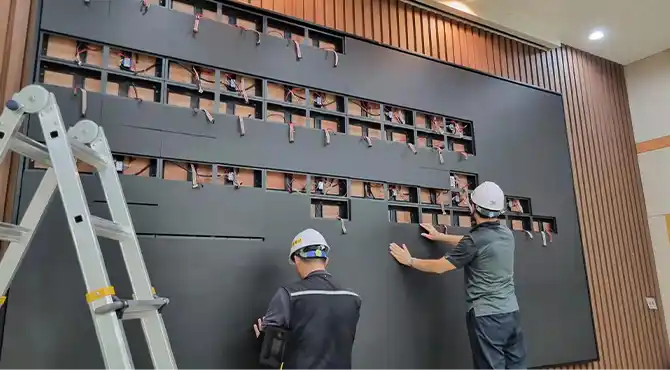
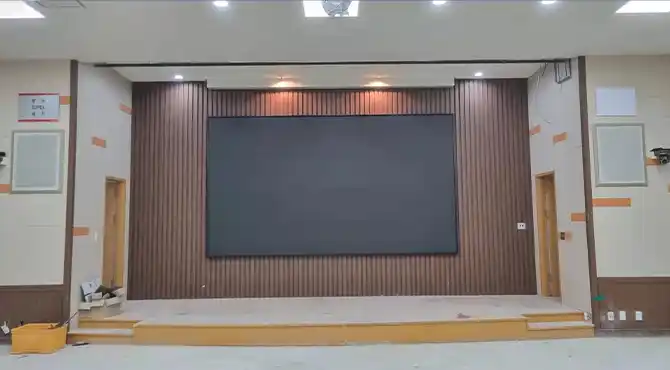
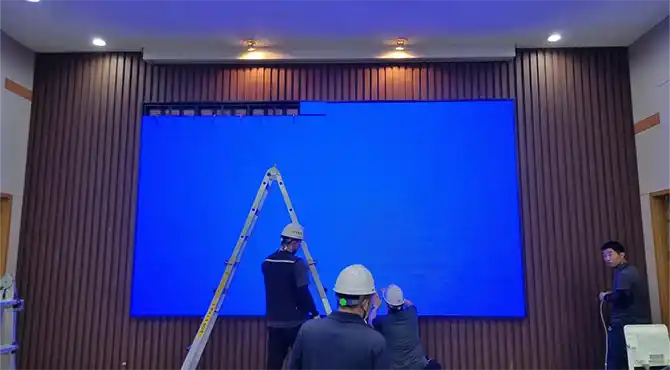
In today’s competitive retail landscape, visual engagement is no longer a luxury — it's a necessity. Integrating a high-performance indoor LED display into your store environment can significantly enhance customer experience, boost brand visibility, and drive sales conversion. However, the effectiveness of your digital signage hinges on one critical factor: proper installation.
According to industry research, up to 68% of LED display performance issues stem from improper installation, ranging from poor brightness calibration to structural safety concerns. This guide will walk you through everything you need to know about installing an indoor LED display like a professional, including two leading installation methods, step-by-step procedures, safety considerations, and maintenance practices that ensure long-term reliability and ROI.

Your LED display is more than just a screen — it’s a powerful marketing tool. The way it’s installed directly impacts:
Visual clarity and content readability
Structural safety and longevity
Operational efficiency and maintenance costs
Compliance with electrical and building codes
A poorly installed display may not only underperform but also pose serious risks, including overheating, power surges, or even physical failure. Investing time and resources into professional installation ensures your display functions at peak performance while delivering seamless customer experiences.
When installing an indoor LED display, retailers typically choose between two main installation approaches: pre-assembled cabinet systems and modular panel + frame installations. Each comes with its own set of advantages and trade-offs.
These are ideal for businesses seeking speed, simplicity, and guaranteed performance. They come as self-contained units with integrated components such as LED modules, power supplies, and control systems.
Plug-and-play connectivity
IP65-rated durability (dust and water-resistant)
Factory-calibrated color and brightness uniformity
Up to 75% faster installation
Easier maintenance due to modular design
Typically include a 3-year warranty
Higher upfront cost (20–30% more than modular setups)
This method offers greater flexibility and customization, making it popular among budget-conscious retailers or those requiring non-standard screen sizes.
Custom aluminum framing for tailored designs
Individual module alignment and wiring
Scalable system for future expansion
Up to 40% lower hardware costs
Flexible configurations (e.g., curved or irregular shapes)
Easy component replacement
Requires professional installation (allocate 15–20% of total budget)
Longer setup time and calibration process
Regardless of the method chosen, a successful installation follows a structured process to guarantee both technical performance and safety compliance.
Before any hardware is mounted, thorough planning is essential.
Conduct a structural analysis of the wall or ceiling to ensure it can support the display’s weight.
Confirm electrical capacity — a dedicated circuit of at least 110V/20A is recommended.
Optimize viewing angles; a 15° to 30° downward tilt is ideal for most retail settings.
Mount the suspension system with precision — maximum tolerance should be within ±2mm.
Integrate a thermal management system to maintain operating temperatures between 25°C and 35°C.
Use EMI-shielded cabling to prevent interference with nearby electronics.
Perform color calibration to ensure consistent output across all panels (ΔE ≤ 3).

Safety must never be compromised when dealing with heavy electronic equipment. Here are key safety measures to follow:
Maintain at least 50 cm of ventilation space behind the display.
Install a GFCI (Ground Fault Circuit Interrupter) to protect against electrical faults.
Use load-rated anchors capable of supporting at least 10 times the display’s weight.
Schedule bi-annual torque checks on all fasteners to prevent loosening over time.
Proper care extends the life of your LED display and maintains its visual performance.
Daily: Dust removal using anti-static brushes
Monthly: Brightness calibration to stay within ±100 nits
Quarterly: Power supply testing under full load conditions
Annually: Full diagnostic check by certified technicians
Regular maintenance ensures consistent image quality and prevents costly repairs down the line.
To get the most out of your investment, position your LED display strategically within the store layout.
Place displays where foot traffic is highest — entrance zones, checkout counters, or product showcases.
For HD content, ensure the optimal viewing distance is between 2.5 and 3 meters.
Integrate with a CMS (Content Management System) for real-time updates and interactive promotions.
Synchronize audio cues with visual triggers to create immersive shopping experiences.

Installing an indoor LED display in your retail store is a strategic move that can elevate your brand presence and improve customer engagement. While DIY options might offer short-term savings, professional installation often results in 300% better long-term reliability and performance.
For complex installations exceeding 10 square meters, we strongly recommend working with certified LED integrators who understand local regulations, safety standards, and best-in-class installation techniques.
By following this guide, you’re well on your way to creating a visually compelling retail environment that attracts attention, informs customers, and drives business growth.
Hot Recommendations
Hot Products
Get a Free Quote Instantly!
Talk to Our Sales Team Now.
If you are interested in our products, please contact us promptly
Reach out to our sales team to explore customized solutions that perfectly meet your business needs and address any questions you may have.
Email Address:info@reissopto.comFactory Address:Building 6, Huike Flat Panel Display Industrial Park, No. 1, Gongye 2nd Road, Shiyan Shilong Community, Bao'an District, Shenzhen city , China
whatsapp:+8615217757270