



































Best Practices for Setting Up and Operating Rental Stage LED Screens for Maximum Impact
In today’s visually-driven event landscape, **rental stage LED screens** are essential tools for delivering high-impact visuals that captivate audiences. Whether you're organizing a concert, theater performance, corporate conference, or outdoor broadcast, the way you set up and operate your LED screen can make or break the audience experience.
Poor setup and operation can lead to:
Suboptimal viewing angles and brightness
Distorted or improperly scaled content
Technical failures during critical moments
Overheating or excessive power draw
This guide outlines 10 professional best practices to help you get the most out of your **stage LED display**, ensuring reliable performance, stunning visuals, and seamless integration with your production environment.
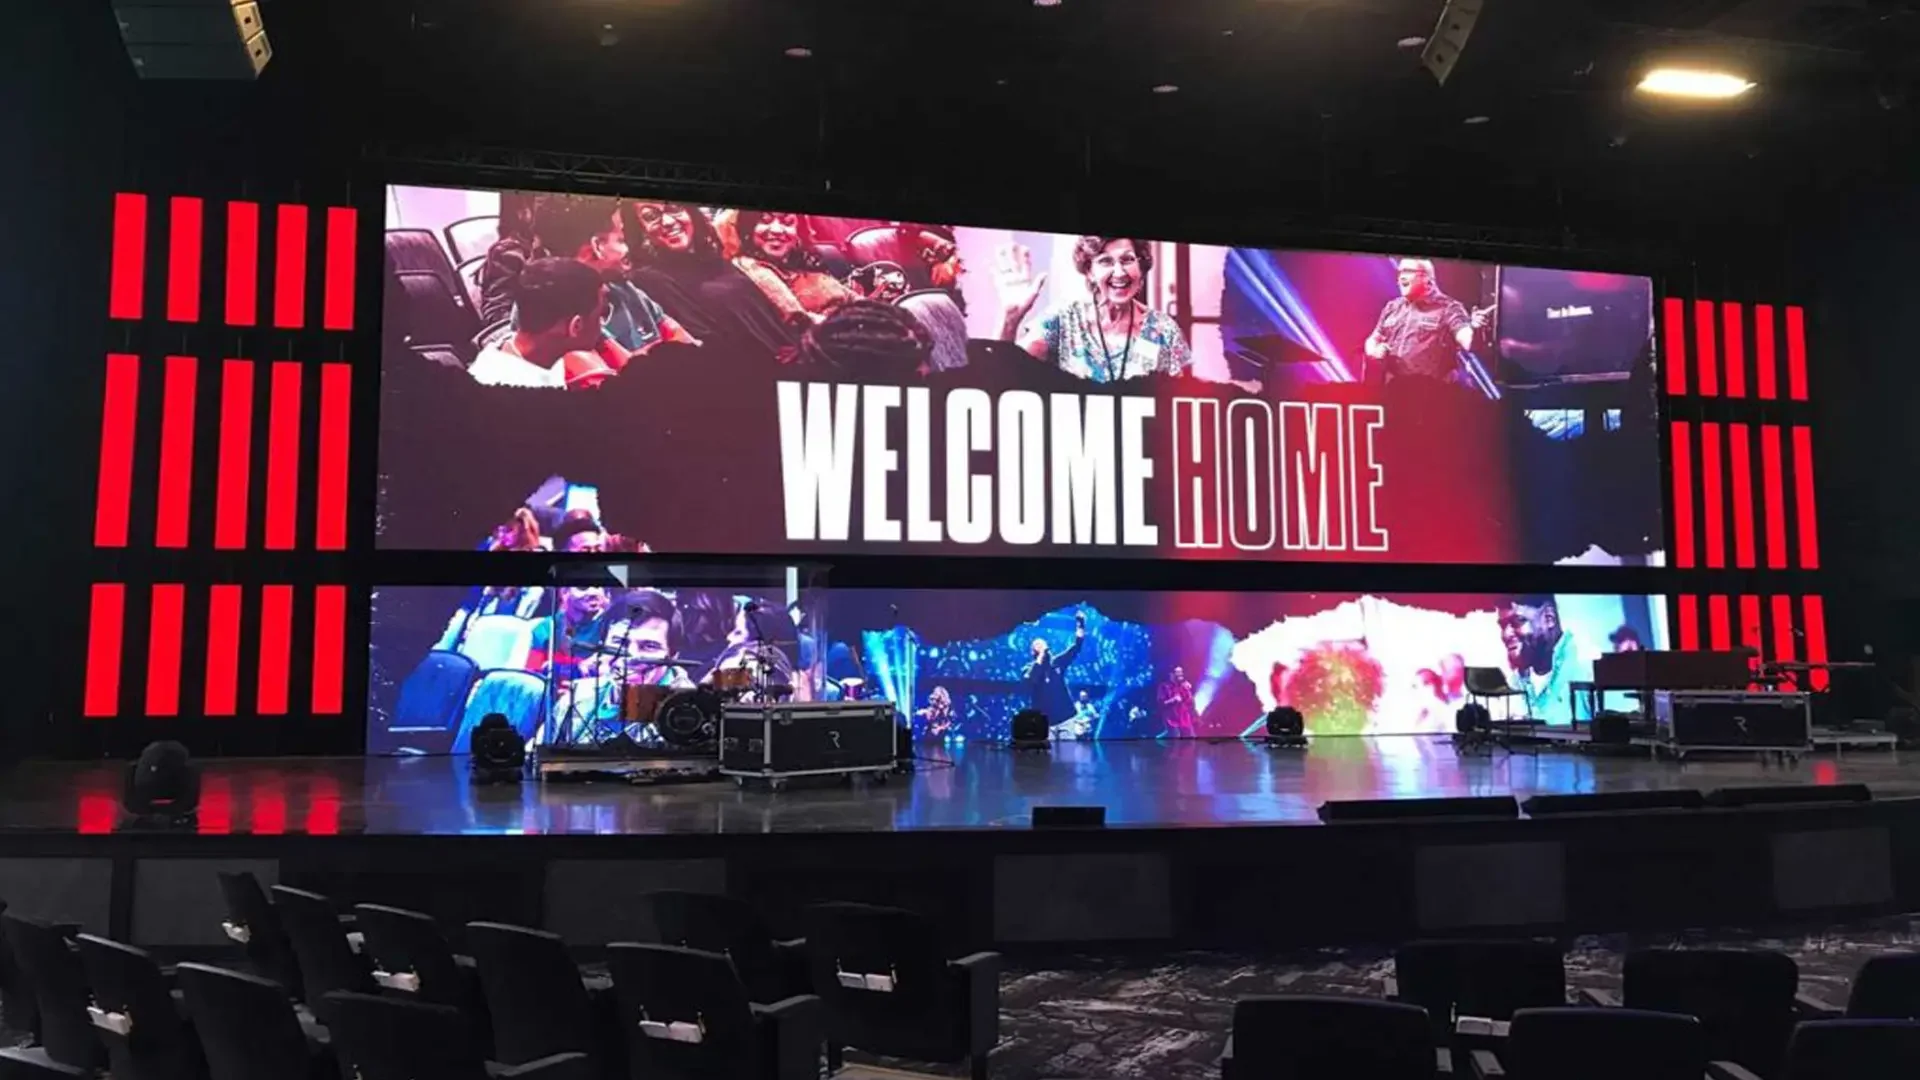
1. Pre-Event Planning: The Foundation of Successful LED Screen Deployment
Proper planning is crucial for a successful LED screen installation. Begin by conducting a detailed site survey:
Venue dimensions and ceiling height
Audience sightlines and optimal viewing distances
Power availability and circuit capacity
Structural load-bearing limits
| Planning Tool | Use Case |
|---|---|
| CAD Software | Simulate screen placement |
| Laser Measuring Tools | Accurate distance mapping |
Choosing the Right Pixel Pitch
Selecting the appropriate pixel pitch ensures clarity without overspending:
| Viewing Distance | Recommended Pixel Pitch |
|---|---|
| 0–10 ft | P1.2–P1.9 |
| 10–30 ft | P2.5–P3.9 |
| 30+ ft | P4.8+ |
Pro Tip: Overly fine pixel pitch increases cost and complexity without noticeable benefit for distant viewers.
2. Screen Placement and Viewing Angles: Maximizing Audience Experience
Strategic placement enhances visibility and immersion:
Center stage: Ideal for concerts and theatrical performances
Flanking positions: Perfect for corporate presentations
Overhead installations: For supplementary content in large venues
Optimal Viewing Angle Guidelines
Horizontal viewing angle: ≥160°
Vertical viewing angle: ≥140°
Brightness range: 3000–7000 nits for daylight visibility
Pro Tip: Maintain consistent curvature radius in curved setups to prevent image warping.
3. Power and Thermal Management: Preventing Downtime
Effective power and cooling strategies are essential to avoid overheating and system failure.
| Screen Size | Power Consumption | Recommended Circuit |
|---|---|---|
| 10m² @ P2.5 | 4–6kW | Dedicated 220V/30A |
| 50m² @ P3.9 | 12–18kW | 3-phase power |
Thermal Best Practices
Use power conditioners to protect against surges
Monitor temperature (ideal range: 15–35°C)
Allow 6–12 inches of rear clearance for ventilation
Red Flag: Temperatures above 60°C drastically shorten LED lifespan.
4. Content Optimization: Making Your Visuals Pop
High-quality content tailored to LED displays maximizes visual impact:
Design at native resolution (avoid upscaling)
Use PNG/TGA formats for crisp graphics
60fps minimum for motion content
Broadcast-Grade Settings
10-bit color depth
Color space: Rec. 709 or DCI-P3
Refresh rate: ≥3840Hz for camera compatibility
Pro Tip: Create modular content templates matching your LED wall layout for faster editing and seamless playback.
5. Rigging and Structural Safety
Safety should never be compromised when installing overhead or elevated LED structures.
Average weight: 30–50kg/m²
Rigging safety factor: 5:1
Essential Safety Measures
Engineered rigging plans
Redundant suspension points
Daily structural inspections
Warning: Never exceed venue weight limits or use non-rated hardware.
6. Professional Calibration Techniques
Calibration ensures accurate color reproduction and consistency across all AV elements.
Uniformity correction (eliminates hot spots)
White balance to D65 standard
Gamma correction (2.2–2.4)
Match colors with other displays/projections
Advanced Calibration Tools
Spectroradiometers (X-Rite, Klein)
Waveform monitors
3D LUT calibration systems
7. Signal Management and Redundancy
Reliable signal flow prevents interruptions and ensures smooth operation.
Main Signal: Fiber optic SDI / 12G-SDI
Backup: HDMI 2.1 with fiber extenders
Control: Dual-network Dante/AES67
Essential Redundancy Components
Backup media servers
Auto-switching power supplies
Spare LED modules (minimum 10%)
8. On-Site Operation Protocols
Smooth on-site execution requires preparation and trained personnel.
Pre-Show Checklist
Pixel health check
Content verification
Emergency shutdown procedures
Operator Training Essentials
Basic troubleshooting
Content switching workflows
Brightness adjustment based on lighting conditions
9. Outdoor Event Considerations
Outdoor deployments require additional protection against environmental factors.
Minimum IP65 rating for weather resistance
Wind load calculations (up to 60mph)
Heating systems for cold environments
Pro Tip: Use anti-glare treatments in sunny locations to improve readability.
10. Post-Event Maintenance
Proper handling after the event extends the life of your rental LED equipment.
Clean with isopropyl alcohol only
Store in climate-controlled environments
Inspect connectors before returning panels
Damage Prevention Tips
Never stack LED panels directly
Use protective corner covers
Transport in shock-mounted cases
Conclusion: Mastering LED Screen Rentals for Professional Results
By following these 10 best practices for setting up and operating **rental stage LED screens**, you’ll ensure:
✔ Flawless visual performance
✔ Reliable operation under all conditions
✔ Maximum return on your AV investment
✔ Enhanced audience engagement
Ready to elevate your event production? Partner with a professional LED rental company that understands these technical requirements and provides expert support from planning to execution.
<!--!doctype-->